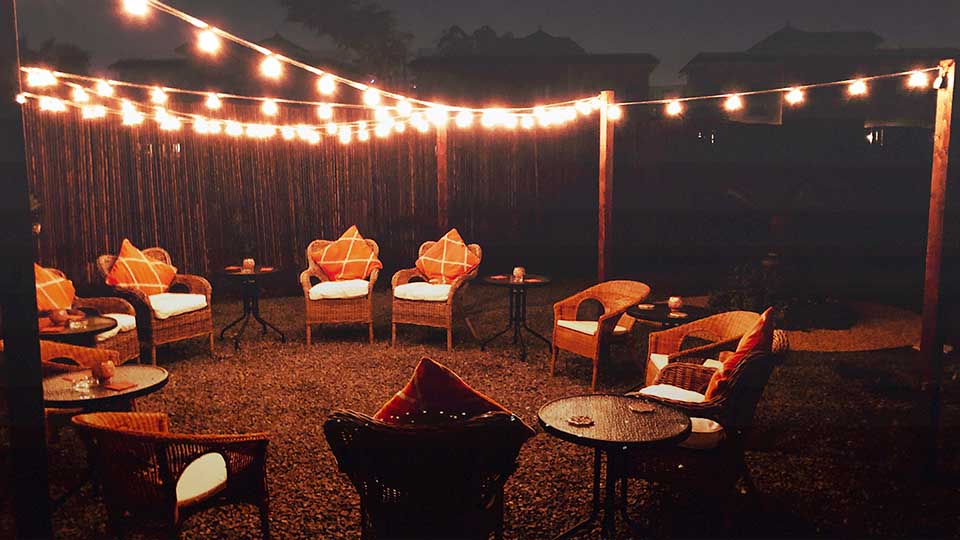
Outdoor Ambience

So, you’ve created the backyard of your dreams and love everything about it—except that seeing your surroundings can sometimes be a challenge once the sun’s gone down. As the days grow shorter and we head into fall, it’s one of the best times of year to enhance your backyard life at night.
While hiring someone to install outdoor lighting can be really expensive and involved, patio string lights are a simple, cost-effective solution. Best of all, you can create a look that reflects your style using any number of patterns.
In a recent episode of “Done-In-A-Weekend Projects” called “Light Up Your Life,” expert landscape designer Doug Scott demonstrated how to hang string lights, as well as what to consider before, and while, doing so. Here are his steps for adding fun, personality and light to your outdoor living and dining spaces:
1. First determine how long your string lights need to be and how many strands you’ll need. The only other materials you’ll need for this project are appropriate, outdoor-grade hardware (such as cup hooks or a similar fastener) and possibly an extension cord.
2. Next you’ll want to sketch your design to make sure you capture what you’re going for and second, to ensure you’re purchasing the correct number and lengths of lights and hooks. For a more relaxed look, you may want a crisscross or free-form pattern. For a more uniform look, you can simply hang lights across the center or around the perimeter of the space.
“Regardless, just make sure your design represents you and how you want to live outside,” says Scott.
3. When measuring your lights, be sure to add a few feet on each pass to allow for slack. One other thing you’ll want to consider is whether you’ll be able to make light connections in discreet places, ideally where they connect to the wall, post or tree.
“Having a connection in the middle of a swag won’t be the end of the world, but you’ll want to minimize this as much as possible,” says Scott.
4. Install your hooks according to your plan. Then, hang your lights with the bulbs removed to decrease your chances of breaking them. You’ll also want to make sure that your first strand reaches an outlet, or you have an extension cord that will. Once you’re satisfied with your general look, install one bulb in each strand to test that everything is working properly. If all is good, install the rest of the bulbs, light them up, then kick back and enjoy.
Need some inspiration to get started? A free downloadable guide from Exmark, which provides helpful illustrations and brief descriptions of five commonly used string light patterns, can be found by visiting Exmark’s Backyard Life at Exmark.com/backyard. There you can also access other original video series, including “Prime Cuts” and “Dream Yards,” to help you make the most of your backyard.
With a few supplies and a little creativity, brightening your backyard and enhancing your backyard life at night can be a simple DIY project.


